

For this week’s C.R.A.F.T Challenge we’re presenting a tutorial as
we are aware that not everyone knows what a ‘Resist Technique is!
There are a couple of different versions and they enjoy various
names so I’m going to name them what I know them by, although
you may know them by another name.
Almost the same supplies—just the card differs.
The first one I’ll call Joseph’s Coat. The reason will become apparent!
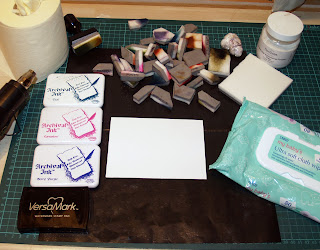
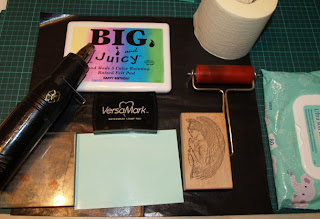
Materials
Plain white standard cardstock bigger than your stamp.
Dye ink or inkpad(s) ‘Big & Juicy’ multi–colour are brill or you can
use a variety of smaller pads. Distress inks work well.
Ink blending pads (Cut & Dry works well) or brayer
Rubber stamps(s)
Clear embossing inkpad (Versamark is brill)
Clear embossing powder
Heat Gun
Black pigment ink or inkpad
Kitchen roll or soft cloth.
Method
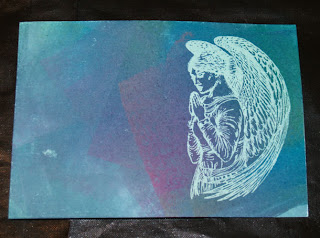
Using either the brayer or the blending pads, cover the cardstock
with patches of colour in linear (brayer) or random (pads) pattern.
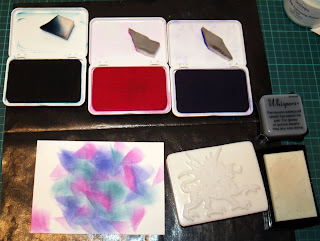
Ink up stamp with clear ink and stamp your image.
Use the clear embossing powder and heat gun to clear emboss the
image.

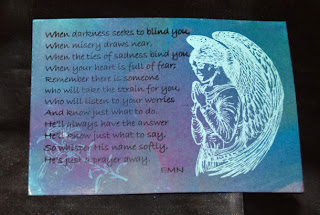
Wait for the image to cool, then apply black ink to the whole surface
of the ink using either the brayer or the pads—your own preference.
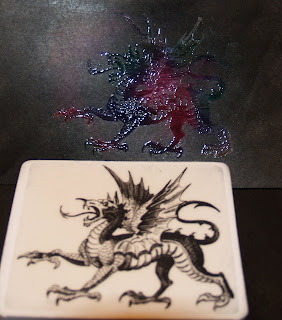
Wipe over the embossed image and the bright colours will shine
through !
That’s why it’s called Joseph’s coat!
The second technique produces a more subtle effect.
Materials
Gloss coated cardstock bigger than your stamp. Colour is your
choice. Astralux is brill.
Dye ink or inkpad(s) ‘Big & Juicy’ multi –colour are brill or you
can use a variety of smaller pads. Distress inks work well.
Ink blending pads (Cut & Dry works well) or brayer
Rubber stamps(s)
Clear embossing inkpad (Versamark is brill)
Heat Gun
Black pigment ink or inkpad
Kitchen roll or soft cloth
Method
This method differs to the first in a couple of ways.
Using your clear embossing inkpad, stamp your image.
‘Set’ the ink using your hear gun.
Then, using either your brayer or your pads, cover the whole of
the card with your lightest colour
Using cloth or kitchen roll wipe over the stamped image and the
original card colour will remain.
Repeat step one with your next stamp.
Repeat step two with the next lightest ink.
Polish with cloth again.
Repeat these steps as often as required for your design to build
up
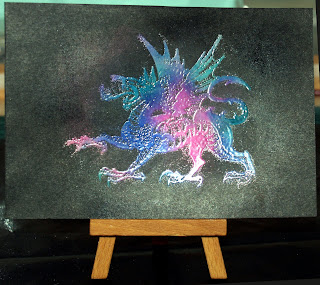
You can even overstamp with a strong colour at the end, if you’d
like, using your design like a backing paper
I hope you enjoy this tutorial. I'll try to put more on soon!
Hugs,
Ei
x


It's a great tutorial Ei - mand I loved playing! x
ReplyDeleteFantastic card Eileen and fabulous tutorial, thank you sooo much for that. Hope you are soon back to normal.
ReplyDeleteLots of love and hugs,
Jo.
great tutorial hun and love that stamp too brilliant designs as usuall hun love hugs cheryl xxxxxxx
ReplyDelete